
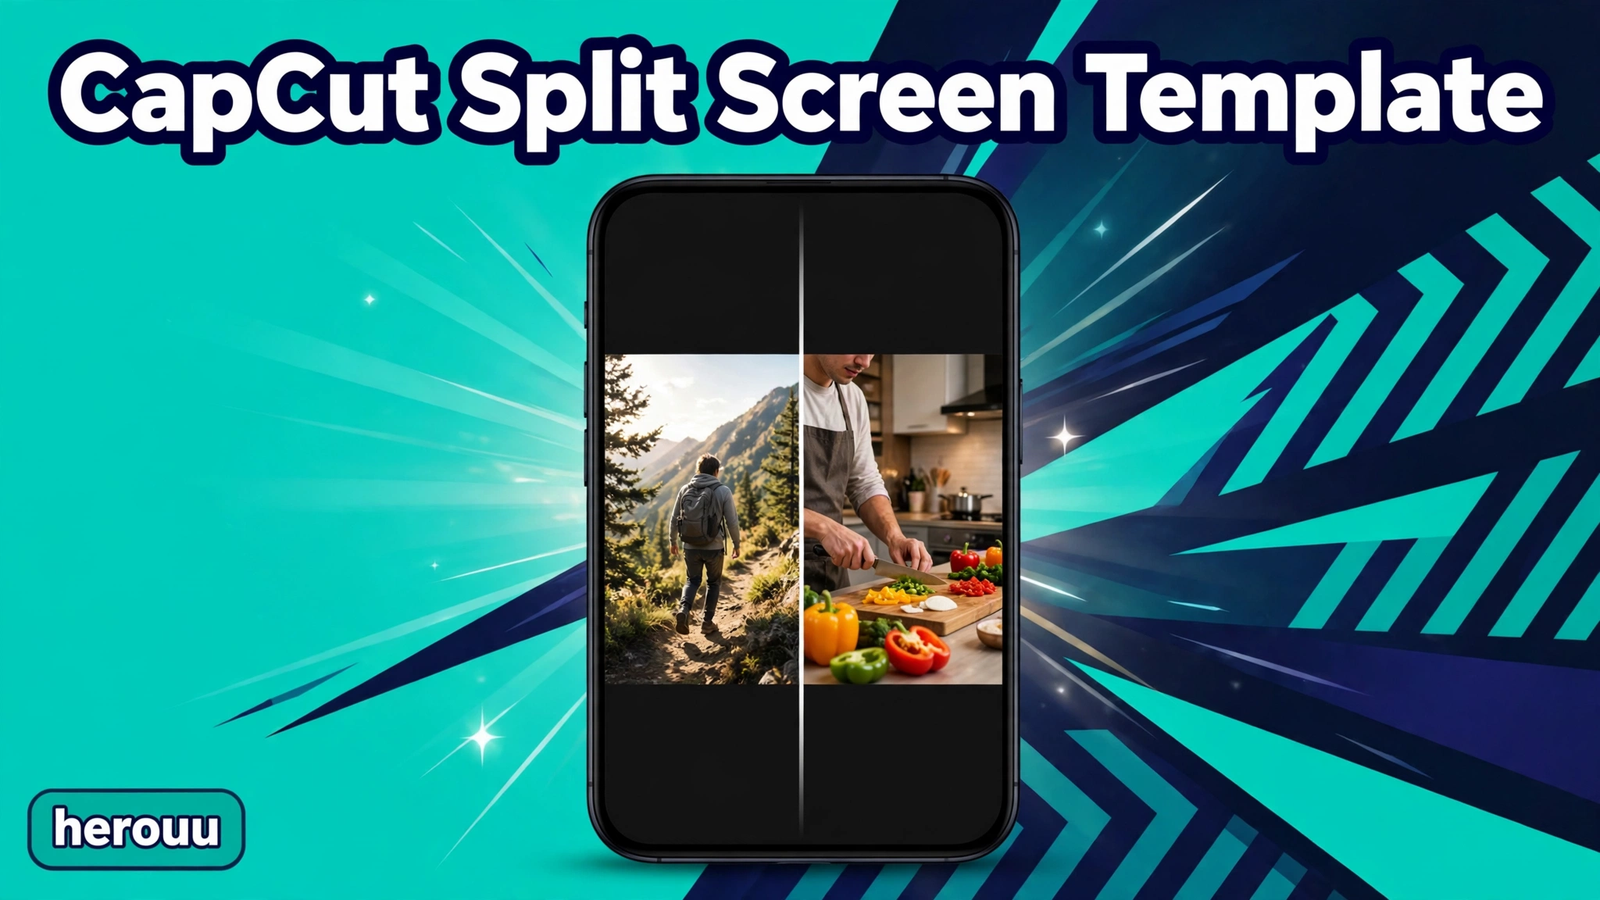
A CapCut Split Screen Template puts two videos on one screen, side by side, so your viewer can watch both at the same time. It works well for before and after clips, reactions, comparisons, and two camera angles of the same moment. You can start from a ready-made template in the CapCut app, or build the layout yourself with the Overlay tool. This guide shows the steps, five original ideas you can copy, and the fixes beginners hit most. Menu names can change with app updates, so check the official CapCut help page if a button looks different.
At a glance
A split screen video shows two or more clips playing together in one frame, each in its own panel.
A CapCut Split Screen Template gives you that layout without manual measuring. You pick a template, add your clips, and CapCut places them for you. If no template fits, the manual Overlay method gives you full control.
This guide is for beginners. You need the CapCut app, two clips you filmed yourself, and about 20 minutes. No paid plan is needed for a CapCut Split Screen Template built by hand. Some templates may show a paid label, so check the template page in your app first.
Quick Overview
| Topic | Details |
|---|---|
| Topic | CapCut Split Screen Template |
| Category | Capcut Template |
| App or Tool | CapCut mobile app (Android and iPhone) |
| Skill Level | Beginner |
| Time Needed | 15 to 25 minutes for your first video |
| Media Needed | 2 to 4 short video clips you filmed yourself |
| Cost or Free Features | Free editor covers the manual overlay method; some templates may need a paid plan |
What you will make
A CapCut Split Screen Template can look different depending on the layout you pick. The five layouts below cover most short videos.
| Layout | Best for | Clips needed |
|---|---|---|
| Side by side | Comparisons, reactions, two angles | 2 clips |
| Top and bottom | Before and after shots | 2 clips |
| Big and small | Reaction over gameplay | 2 clips |
| Four grid | Four steps or four outfits | 4 clips |
| Three panel | One main clip, two small clips | 3 clips |
Side by side is the easiest place to start. Both panels get the same width.
Before you start
Good CapCut Split Screen Template videos start before you open CapCut. Film both clips with the same idea in mind. If one clip is bright daylight and the other is a dark room, the split will look uneven.
Shoot both clips in the same phone position. Two vertical clips work best for reels and shorts, and two horizontal clips work better for a wide video. Mixing the two is the most common reason a split screen looks messy.
| Requirement | What to check |
|---|---|
| CapCut app | Latest version from the Play Store or App Store |
| Clips | 2 to 4 clips, filmed by you, same orientation |
| Storage | At least 500 MB free space |
| Battery | At least 30 percent, or keep a charger nearby |
| Audio plan | Decide which clip keeps its sound first |
| Internet | Needed for templates; editing works offline |
Keep clips short: 15 to 30 seconds holds attention best.
How to make a split screen video in CapCut on your phone
Follow these seven steps in order. They build a CapCut Split Screen Template by hand with the Overlay method, which works in every version of the app.
Step 1: Start a new project
Open CapCut and tap New project. Pick your first clip from your gallery and tap Add. This clip goes on the main timeline track. Set the video ratio first. For reels and shorts, use 9:16. For a wide video, use 16:9.
Step 2: Add your second clip as an overlay
Tap the clip on the timeline, then tap Overlay. Tap Add overlay and pick your second clip. CapCut places it above the first clip. Both clips now sit on the timeline, and their time ranges must overlap. If the second clip starts after the first one ends, the two videos play one after another.
Step 3: Place the clips side by side
Tap the overlay clip in the preview. Drag its corners to shrink it, then drag it to one half of the screen. Do the same with the main clip on the other half. Use the guide lines while you drag. A straight, even split is what makes the CapCut Split Screen Template look clean.
Step 4: Match the clip lengths
Check where each clip ends. Drag the end of the longer clip to match the shorter one, or trim both to the same length. A panel that goes black while the other keeps playing is the most common beginner mistake. If one clip must be longer, fill the empty panel with a still frame.
Step 5: Fix the sound
Tap each clip and check its volume. Keep the sound from one clip only, usually the one with the talking. Tap the other clip, open Volume, and set it to zero. If both clips have music, the result sounds messy. Add one background song if you want music, and keep it low.
Step 6: Add a line and match colours
A thin line between the panels makes the split look neat. Add it with a simple shape, or use the Mask tool. Select one clip, tap Mask, choose Split, and rotate it to a vertical line. Then tap Adjust on each clip and match brightness and warmth by eye.
Step 7: Preview and export
Play the video from the start and watch both panels together. Check that the action lines up, the sound is clear, and no panel ends early. Fix anything that looks off, then tap Export.
How to use a ready-made template instead
If you prefer a faster start, open the Templates tab and search for a CapCut Split Screen Template. Pick one whose preview shows the layout you want. Tap Use template, add your clips, and tap Preview. Each template decides how many clips it needs, so read the preview first. Access can vary by region and version, and some templates may ask for a paid plan.
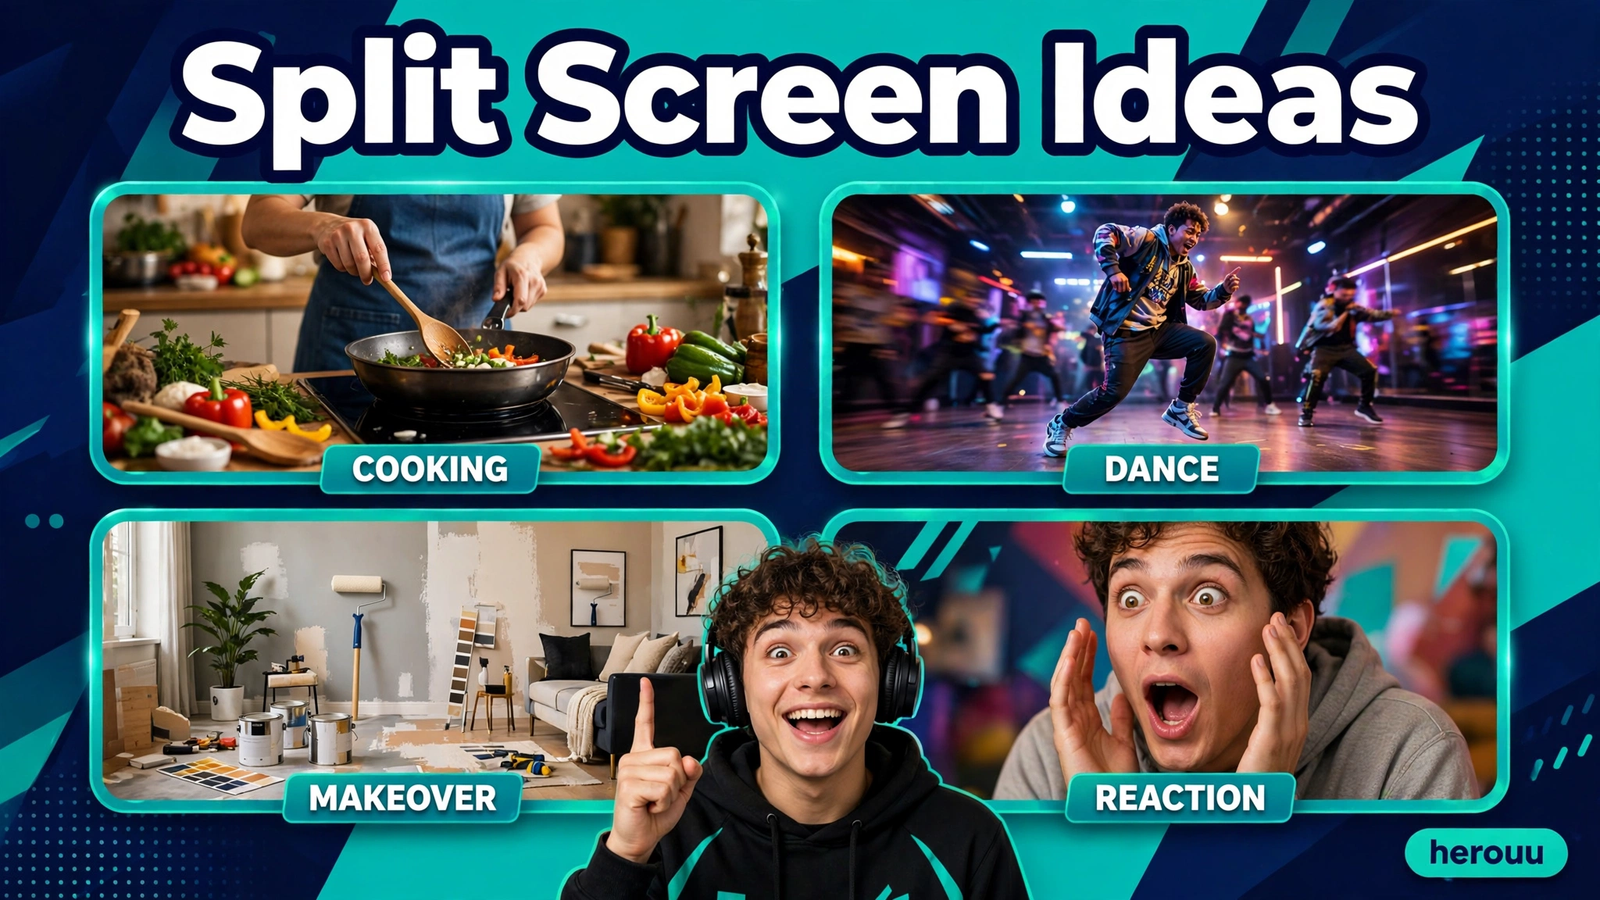
5 original CapCut split screen template ideas
These five CapCut Split Screen Template ideas are original. Each one gives you a layout, a filming plan, and a short note you can copy.
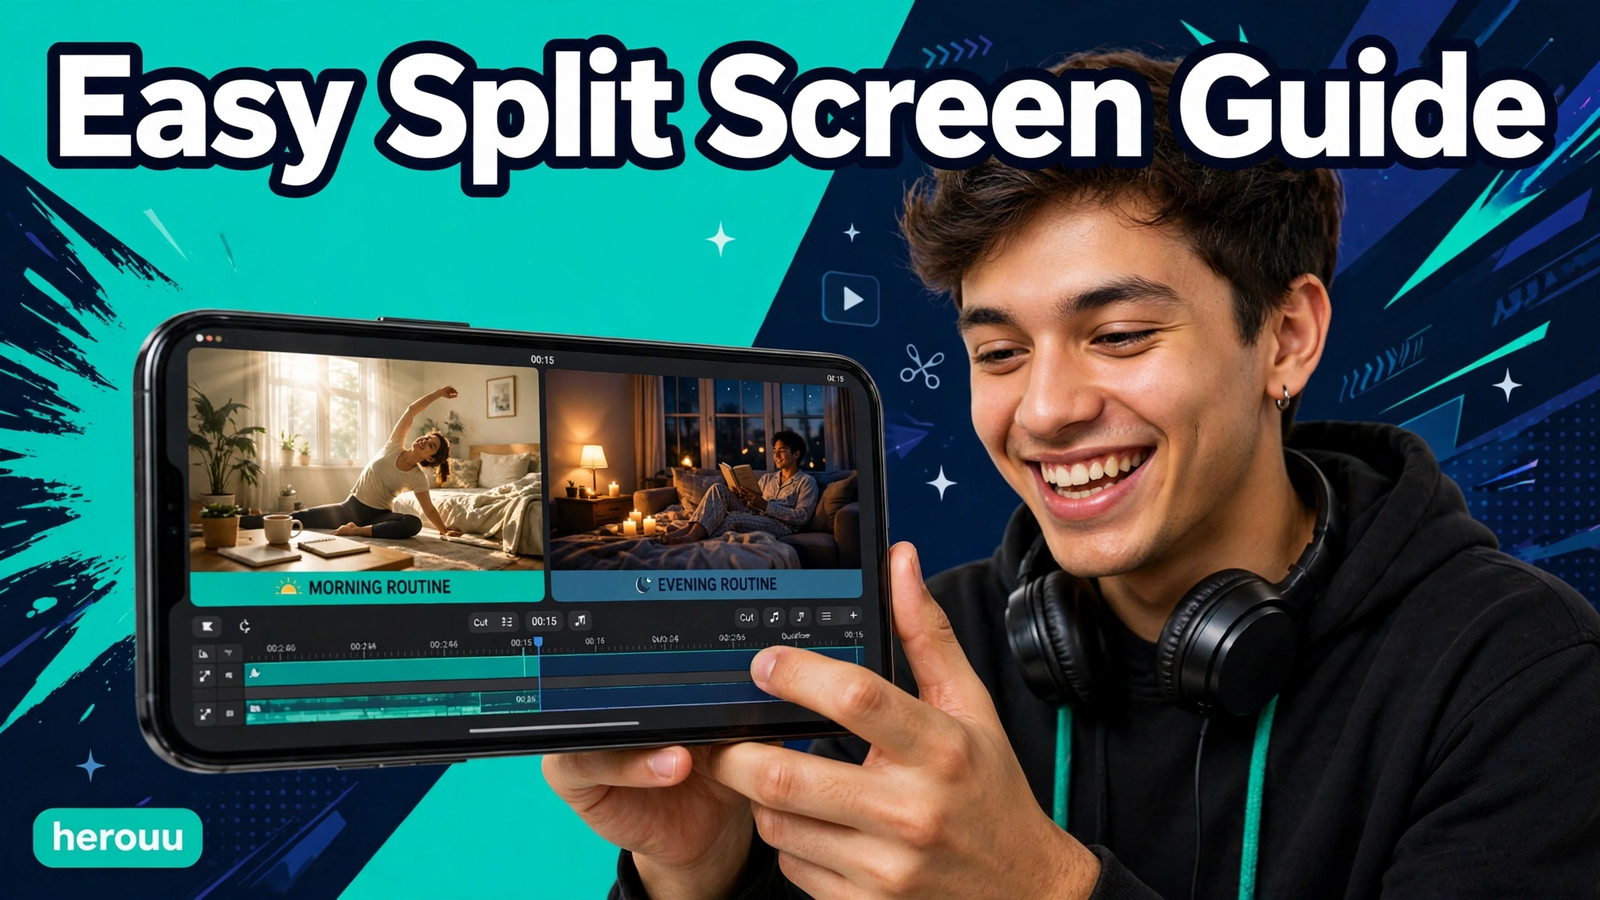
1. Morning routine versus evening routine
Film your morning routine in the morning and your evening routine at night, using the same phone angle. Put morning on the left and evening on the right. Keep both clips under 15 seconds.
Left panel: my morning routine, filmed in daylight by the window. Right panel: my evening routine, same spot, same angle. Both clips 12 seconds.
2. Before and after a room makeover
A before and after CapCut Split Screen Template is a viewer favourite. Film the room before you change anything, then film it again from the exact same spot after the makeover.
Top panel: room before the makeover, filmed from the doorway. Bottom panel: same room after, same doorway, same height. Hold each shot for 8 seconds.
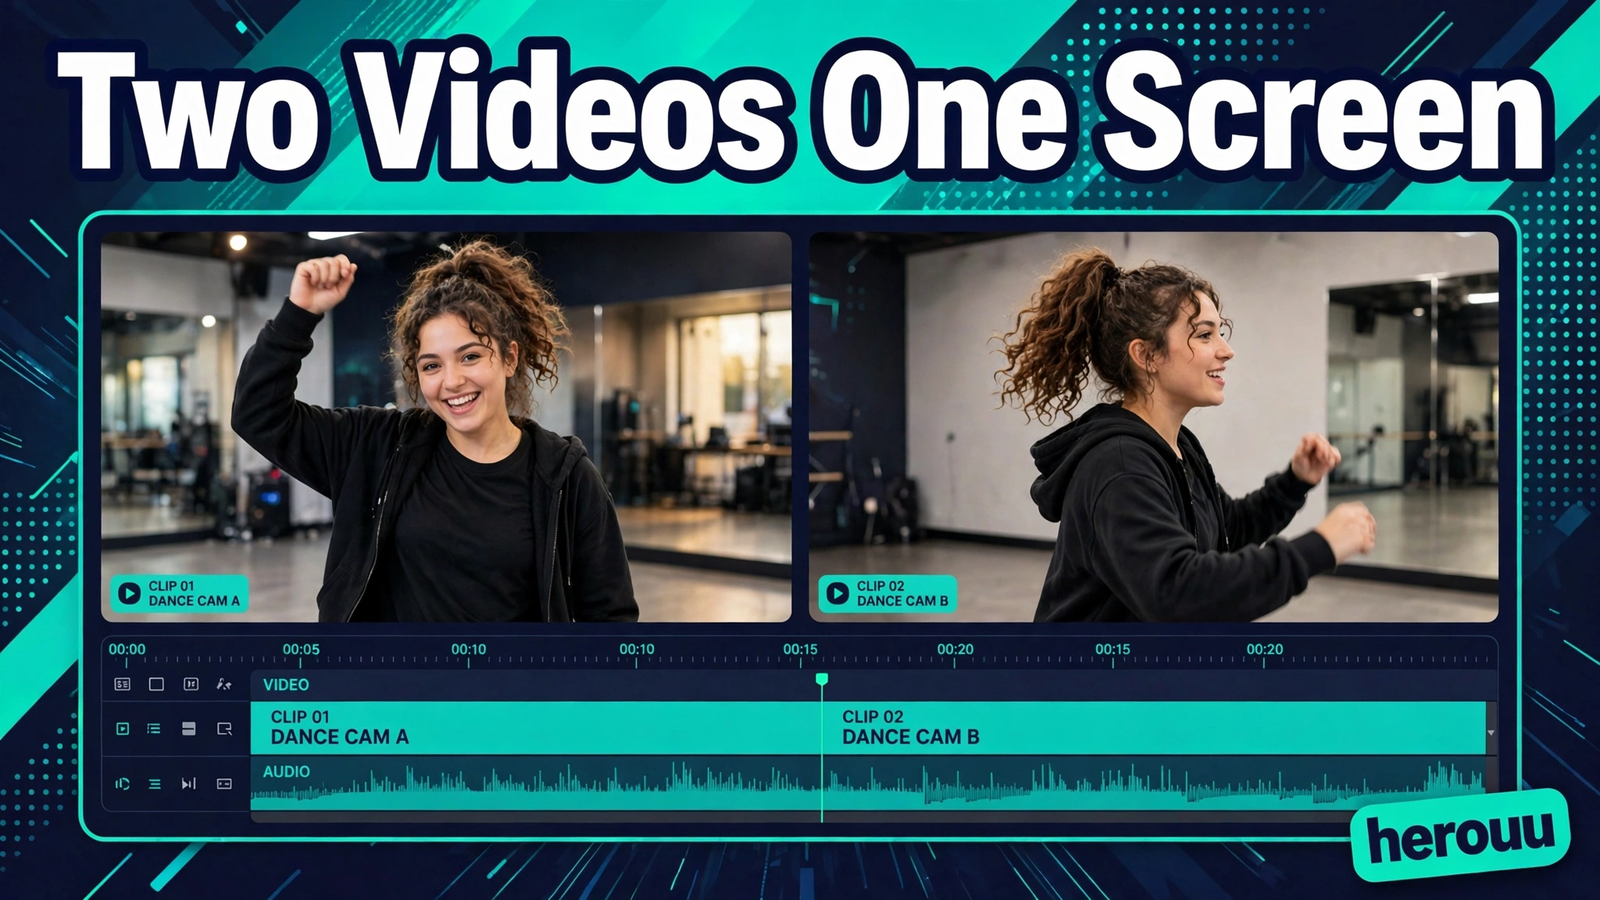
3. Two camera angles of one dance
Film a dance twice, once from the front and once from the side. A CapCut Split Screen Template with two equal panels lets viewers see the footwork and the full body at the same time.
Left panel: dance filmed straight from the front. Right panel: same dance filmed from the side. Same song, both clips start on the first beat.
4. Cooking step and finished dish
A cooking CapCut Split Screen Template shows the process and the result together. Film yourself cooking a dish on one side and show the finished plate on the other side.
Left panel: cooking the dish, one clear step at a time. Right panel: finished plate, still shot, good light. Cooking clip 20 seconds.
5. Reaction over a funny clip
Put a funny clip you filmed in the big panel and your reaction in the small panel at the corner. Your face should be well lit and close to the camera.
Big panel: funny clip I filmed, full screen. Small panel: my reaction in the bottom right corner, face well lit, close to camera.
6 practical tips for better split screen videos
These tips work for any CapCut Split Screen Template, manual or ready-made. Each one fixes a small problem beginners often miss.
- Film both clips on the same day. Light changes through the day, and clips filmed hours apart can look like different videos.
- Keep subjects at the same height in both panels. If one person stands tall and the other sits low, the viewer keeps looking up and down.
- Use one font and one colour for all captions. Split screens already carry a lot of detail, so plain text keeps the video readable.
- Add captions to the panel that carries the talking. Viewers often watch without sound, and captions on the wrong panel will confuse them.
- Test the video on mute before you export. If the story still makes sense with no sound, the layout works.
- Save your project before you export. If the export fails, you can reopen the project and try again.
Common problems and fixes
Most CapCut Split Screen Template problems come from timing, sound, or panel size.
| Problem | Likely cause | Fix |
|---|---|---|
| One panel is black | Second clip ends first | Trim both clips to the same length, or extend the shorter clip with a still frame |
| Only one video plays | Clips sit one after another | Drag the overlay clip so its time range overlaps the main clip |
| Split line is crooked | Placed by eye, no guide lines | Drag slowly until the guide line appears, and snap the edge to it |
| Audio sounds messy | Both clips play full sound | Mute one clip and keep the other as the main sound |
| Video looks blurry after export | Low export resolution or low quality clips | Export in Full HD and film at the highest quality your phone offers |
| Template button is missing | Access varies by region and version | Update CapCut, or use the manual Overlay method above |
Frequently asked questions
What is a CapCut Split Screen Template?
A CapCut Split Screen Template is a ready layout in CapCut that places two or more videos on one screen at the same time. You add your own clips, and it sets the size and position for you. You can also build it by hand with the Overlay tool.
Is split screen free in CapCut?
Yes, the manual split screen method is free. Use the Overlay tool, resize both clips, and place them side by side. CapCut’s free editor covers this. Some ready-made templates may show a paid label, so check the template page in your app first.
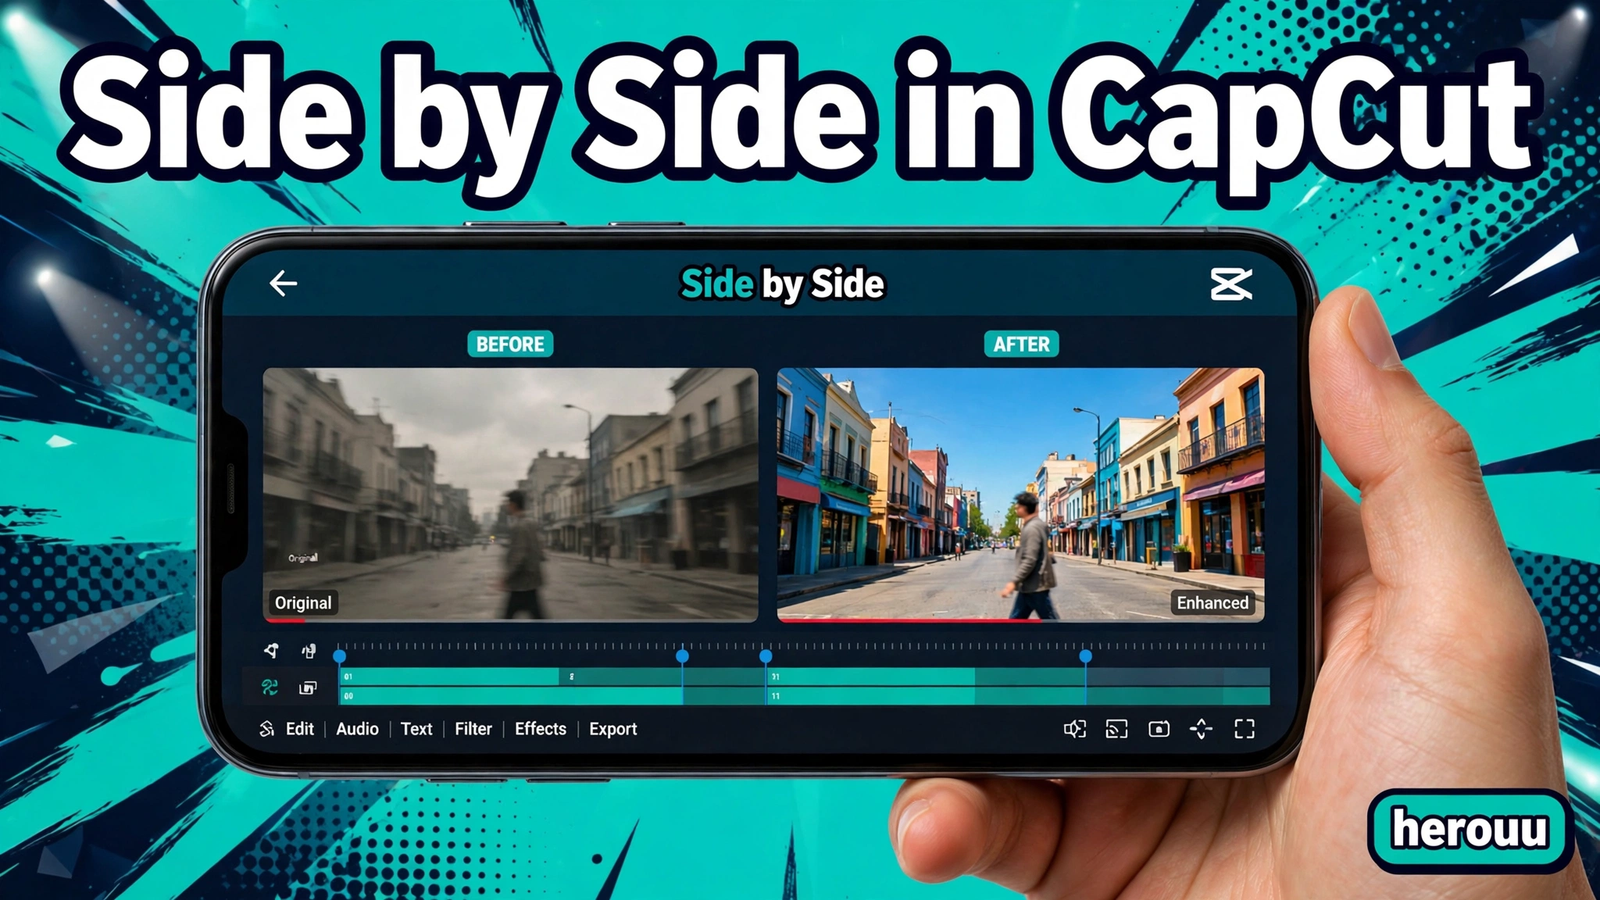
How do I put two videos side by side in CapCut?
Open a new project with your first clip, tap Overlay, then Add overlay, and pick your second clip. Shrink both clips in the preview and drag one to the left half and one to the right half. Match their lengths, mute one clip’s sound, then preview and export.
How many videos can I put on one screen?
A CapCut Split Screen Template can hold two, three, or four clips in most layouts. Two is the easiest and the cleanest for short videos. Four works for quick grids, but each panel gets small, so keep the clips short and the action simple.
Why does one side of my split screen go black?
One clip ends before the other. The panel has nothing left to show, so it turns black. Trim both clips to the same length on the timeline. If one clip must stay shorter, add a still frame or a text card to fill its panel.
Can I add text to a split screen video?
Yes. Tap Text, add your words, and place them where they do not cover faces or key action. Keep the text short and use one font and one colour. Add captions to the panel that carries the talking, since viewers often watch without sound.
Does split screen work on CapCut desktop too?
Yes. CapCut desktop also supports layers and overlays, so you can stack clips and resize them side by side. The steps are similar, but the buttons sit in different places. The phone steps here still show the same idea: two layers, one screen, matched lengths.
What video ratio should I use for split screen reels?
Use 9:16 for a CapCut Split Screen Template made for reels and shorts, since that is the full phone screen. Use 16:9 for wide videos such as YouTube. Pick the ratio before you place your panels, because changing it later can move the split line.
Can I use photos in a split screen instead of videos?
Yes. Add a photo as an overlay and stretch it to cover its panel for the full length of the video. Photos work well for before and after ideas, product shots, and reaction layouts where one side does not need to move.
Conclusion
A CapCut Split Screen Template is a simple way to show two moments at once, and you can build it in about 20 minutes with the Overlay tool. Start with a side by side layout, match your clip lengths, and keep one clear sound. Try one idea above today, then browse the Capcut Template category.
Related reading
- CapCut Green Screen Template: Easy Chroma Key Guide
- CapCut Blur Effect Template: Easy Blur Background Guide
- CapCut Slow Motion Template: Easy Smooth Slow Guide
Browse more ideas in the Capcut Template category.
About herouu
herouu is a free guide site for everyday creators. We write simple, original guides for VN, CapCut, AI photo prompts, and AI video editing, so you can make better videos and photos on your phone.
Disclaimer
This guide is based on the official CapCut help pages and creator guides listed below. CapCut features and menu names can change with app updates and by region. Check the official CapCut app or help page for the latest details.
Sources
- CapCut, How to Make a Split Screen Video — https://www.capcut.com/features/how-to-make-a-split-screen-video-capcut-workflow
- CapCut, How to Put Two Videos Side by Side — https://www.capcut.com/resource/how-to-put-two-videos-side-by-side
- CapCut, Seedance 2.0 for Split Screen Editing — https://www.capcut.com/ideas/seedance-2-0-for-split-screen-editing
- Thinglabs, How To Put Two Videos In One Screen On CapCut — https://thinglabs.io/how-to-put-two-videos-in-one-screen-on-capcut
- Fluxnote, How to Make a Split Screen Video for Instagram — https://fluxnote.io/guides/how-to-make-split-screen-video-instagram
- CapCut Guide, CapCut Collage Templates — https://capcutguide.com/capcut-collage-templates/
Details not officially announced: whether a specific ready-made split screen template is free or paid in your region, and whether the Templates tab is available in your app version.